Adjusting the Camera
Thanks for all of the great feedback on the last photography post. My goal with this post is to get you to the next level of being able to make adjustments on your DSLR. If you currently use Automatic modes, I want to give you the knowledge and the confidence to get you to use one of the priority modes, like Aperture or Shutter Speed priority. If you shoot in one of the priority modes already- that’s great- hopefully I can help you move to Manual. I shoot in Manual 90% of the time so I will cover each topic based on my workflow of how I prepare to take pictures. I first decide on the Aperture, then I adjust Shutter Speed based on the light, if my Shutter Speed is too slow, I will adjust my ISO. After I get my ideal exposure I will make the necessary White Balance adjustments.
Aperture
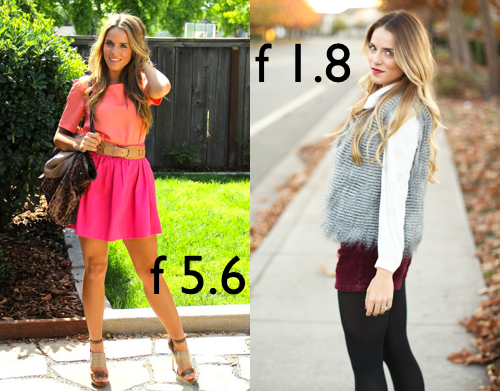
Aperture has two main impacts on your pictures. It is responsible for the depth of focus which creates a blurry or in-focus background. Aperture also makes a significant impact on your lighting. A lot of blog photographers ask about how they can blur their backgrounds. Without having to understand the science behind it, the easiest way is to set your f-stop to the lowest number. If you are looking to add more blur, a great lens would be a prime lens (only 1 focal length) like a 50mm. Our 50mm was our second lens that we bought and has a minimum f-stop of f1.4. I think that f1.4 is a little overkill for fashion and beauty shots so we typically shoot at f1.8-f2.0. Prime lenses with wide apertures (Low f-stops) are great for shooting inside or other dark locations without using your flash.
It’s no wonder that people don’t really understand Aperture because when people refer to it, some of the elements seem contradictory. This table will compare two ends of the Aperture spectrum to help you understand.
| f-stop | f2 | f16 |
| Lens Speed | Fast | Slow |
| Opening Diameter | Wide Open | Very Narrow |
| Impact on Light | Pictures will be much brighter | Pictures will be much darker |
| Amount of Background Blur | Lots of blur | No blur |
| When to use | Portrait and Food shots | Landscape |
FYI- If your DSLR came with a stock zoom lens, chances are that it has what they call a variable aperture. As you zoom in and out it will affect your minimum f-stop, your background blur and lighting.
Shutter Speed
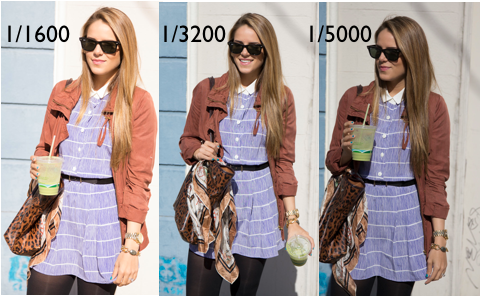
Shutter Speed is the most common and easiest way to make minor adjustments in exposure. Once you have decided on your Aperture use adjustments in the Shutter Speed to get your desired exposure. Shutter speeds are measured by fractions of a second.
The faster the shutter speed, the less light it will take in and the slower the shutter speed, the more light in the picture. Based on my experience, shutter speed only becomes an issue when you shoot in low light situations. If you are hand holding your camera, you may notice that pictures get a little blurry if you slow down your shutter speed too much. For me I notice camera shake when I get down any slower than a shutter speed of 1/50 of a second.
Exposure Meter and Metering Mode-The exposure meter can be seen in the viewfinder of your camera. The exposure meter is great for adjusting your shutter speed quickly. If you have ever manually adjusted your shutter speed and you follow your exposure meter, you will know it is not 100% accurate. Part of the reason why there can be a discrepancy between the meter and the actual exposure in the photo is the nature of how the meter reads the light. The exposure meter measures the light that reflects back to the sensor from the scene. Sometimes there is a large difference between the light that is on the subject and the amount of light that is reflected back to the camera. To avoid problems and get better exposures, I recommend that you go into your Metering Mode settings and change to Spot Metering. Next, go to your Autofocus selections and choose a single point.
Autofocus on the object or the subjects eyes and then adjust exposure to the proper exposure. Now your exposure meter will be used to adjust the exposure on the single point you have selected.
ISO
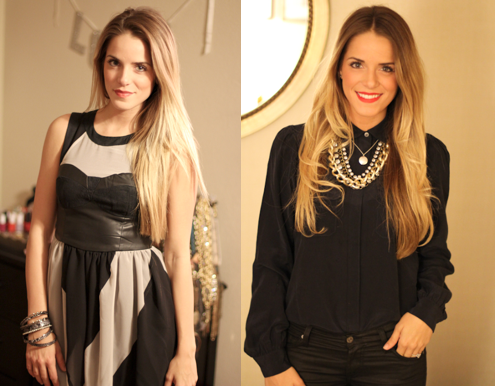
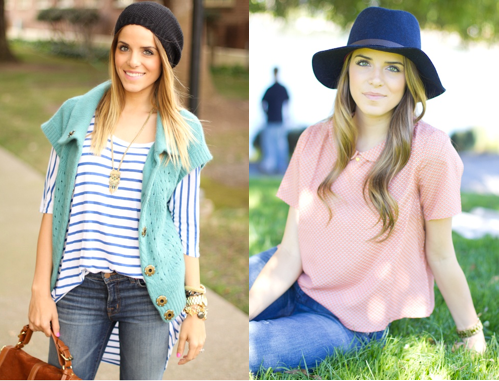
ISO is how sensitive the light sensor is to light. The higher the ISO number the more sensitive that it is. Increasing the number also impacts the graininess of the picture. I set our ISO at 100 to ensure pictures that have high clarity. My rule is to shoot at a low enough ISO that allows me to shoot at a fast enough shutter speed so that you don’t get much camera shake. When shooting outside during the daytime I rarely have to switch away from a ISO of 100. I mostly make adjustments to ISO in very dark shade and when shooting indoors- The pictures above were shot indoors.
White Balance
I don’t want to confuse you too much with White Balance because I normally shoot in AWB (Automatic White Balance). I just wanted to introduce it to you as a way to further customize your pictures. White Balance adjustments impact how the camera measures the color or temperature of light. You may have noticed that daylight has a different color of light when compared to light from light bulbs or the color of light during sunrise and sunset. If you shoot in AWB the camera tries to compensate for the different temperature of light and adjust the photo to reflect what it should look like in Daylight. Sometimes, the AWB does not compensate exactly how you want; in this case I will turn to the preset or custom adjustments of the White Balance.
Other Camera Settings that we use:
Drive Mode- Low-Speed Continuous Shooting- Shooting in Low-Speed Continuous lets you snap off multiple pictures with a push of the shutter button. This really helps when taking a picture of someone that is modeling for you. It makes sure that you get your intended photo in between blinks and movements.
File format- RAW- We shoot in the highest quality RAW format. This makes photo editing more effective.
Our next blog photography post will be on editing your photos, so stay tuned! Be sure to check out our first post on picking the location here.
*First photo shot by Ashley Batz




 We have reimagined our brand and blog for a better future. Stay in the know.